Taking great photos of your property in Malaysia
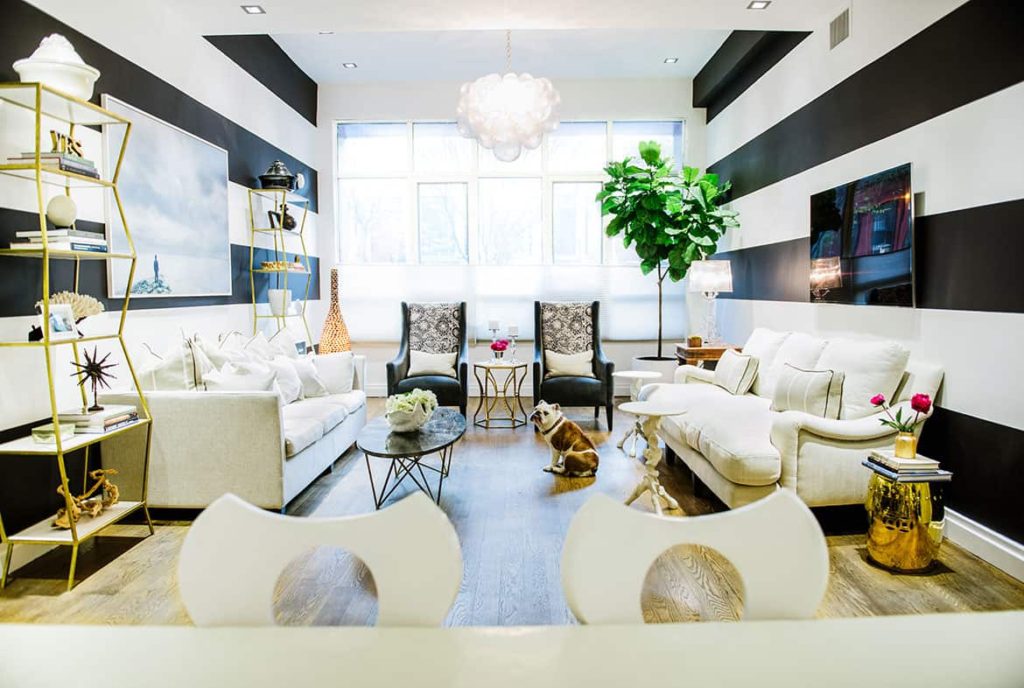
To make sure you sell your home at the best price in Malaysia, great looking photos are very important. Most buyers will only decide to view a property if the photos look good and are what they are looking for. To help you take the best photos possible of your home, we have come up with a few simple tips and tricks for making your Malaysian home photos magazine worthy.
Make sure you clean your property
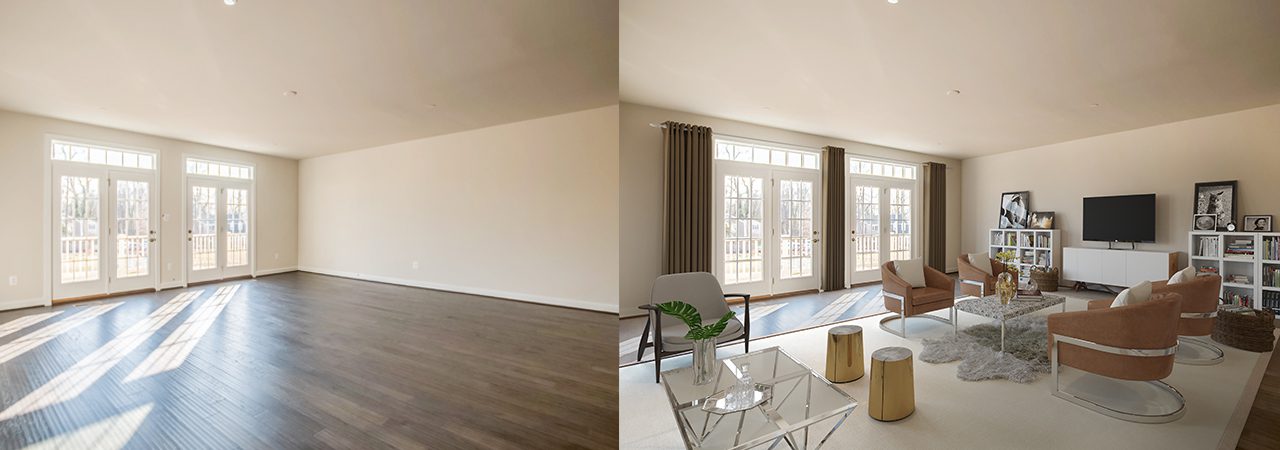
Before taking any photos, you must reorganise and declutter first. Especially if the photo is for a real estate ad, you’re going to want to clean up and throw away anything that takes away from the space in an effort to give prospective buyers a clear view of the potential property.
If the photograph is being taken for a rental property, these pictures need to be extremely tidy. Clients will be looking for cleanliness which is a big indicator of how comfortable the home will be. This may require the hiring of a Malaysian home staging expert as they know how to make your home look open and welcoming.
Go into your photography session with a plan
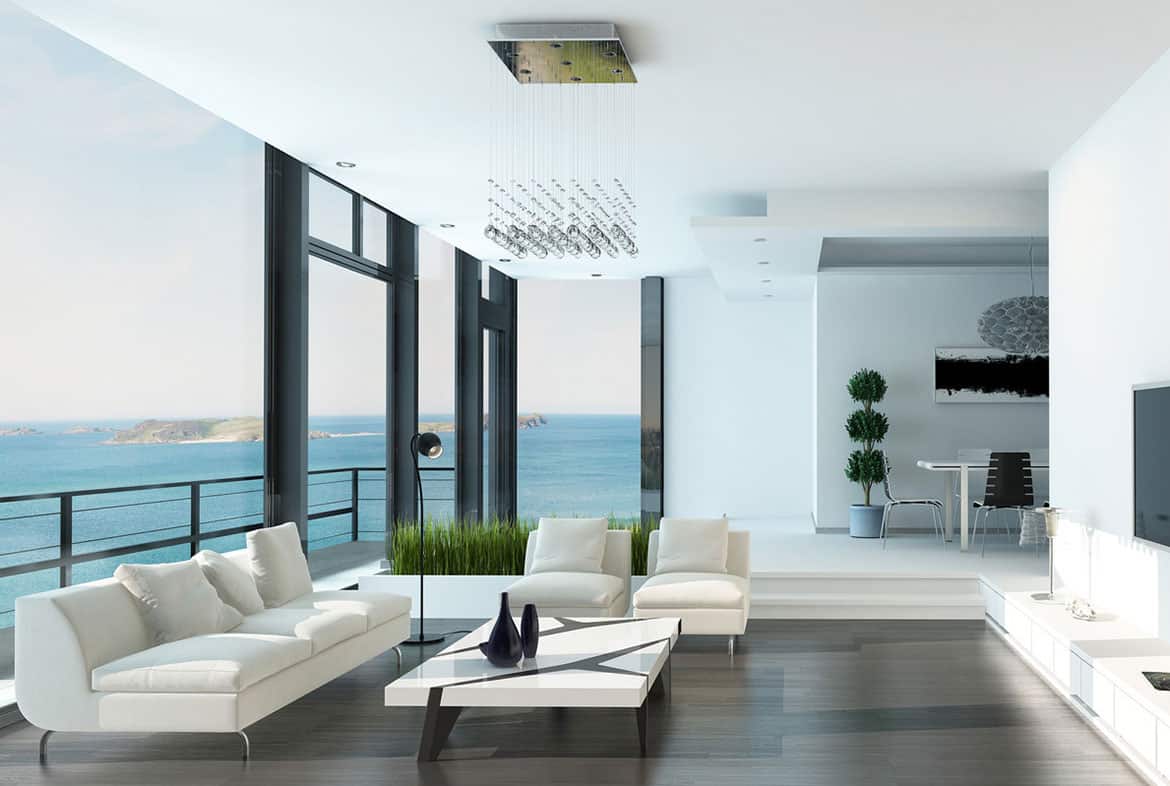
If you’re looking to create a comfortable feeling around your photograph, consider taking the most of your shots in late afternoon as the sun filters dimly through the room. Alternatively, if you’re looking for a bright and airy photograph of an interior room, afternoon is going to be your best time for the clearest light. Also don’t forget to turn on all the lighting sources in the room such as lamps, fixed bulbs, and wall lights. Having layered lighting creates an overall sense of warmth and openness.
Buy the right photography equipment
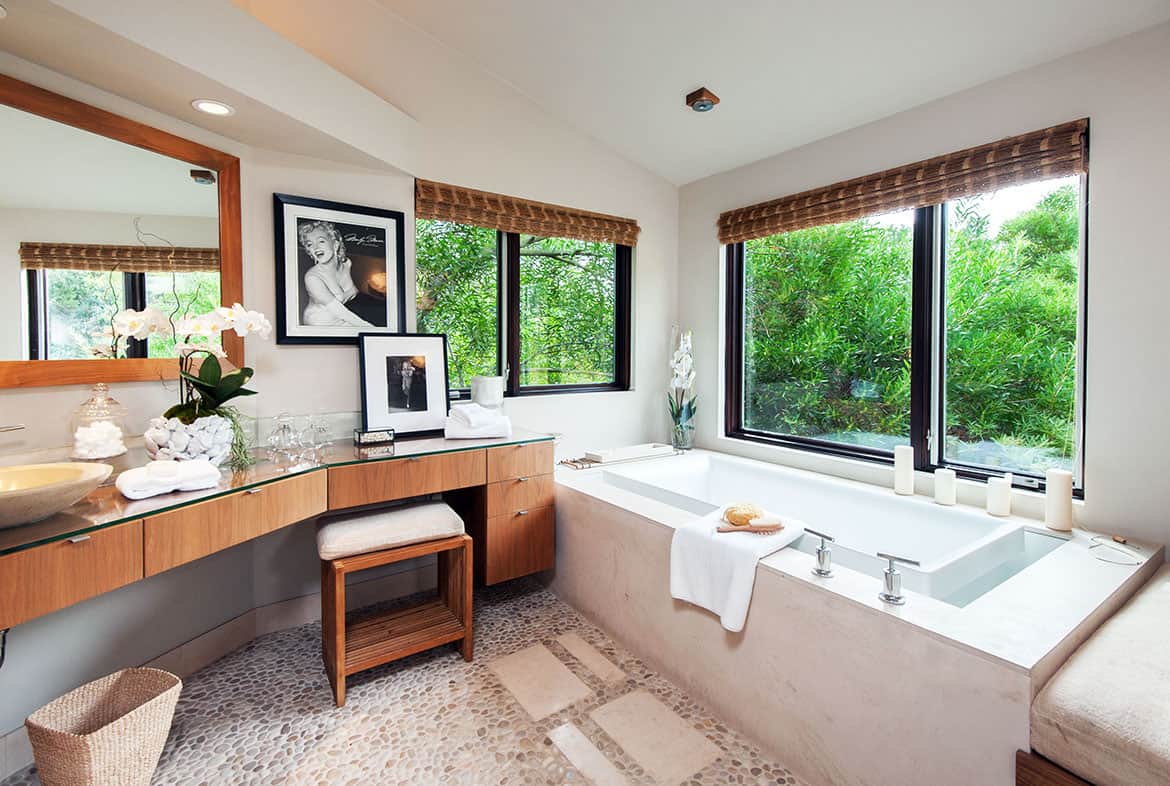
It would definitely be easy to just pull out your smart phone and snap a perfectly professional shot of your property. However, its not as easy as you think. Without a little help, homemade shots just aren’t good enough.
Professional photographers spend a lot of money investing in the right equipment to get the perfect shot every time. While it’s not recommended that you spend your life savings on equipment for photos, it is highly beneficial to invest a little into buying (or possibly borrowing) the proper equipment. No matter what, it will be cheaper than hiring a professional photographer for the property.
When it comes to the right camera, there are plenty of choices to be considered on the market. One that often finds its way into homeowner hands is the SLR, or single lens reflex camera. Many agree that this type of camera gives a very stabilizing effect and creates very clear shots overall.
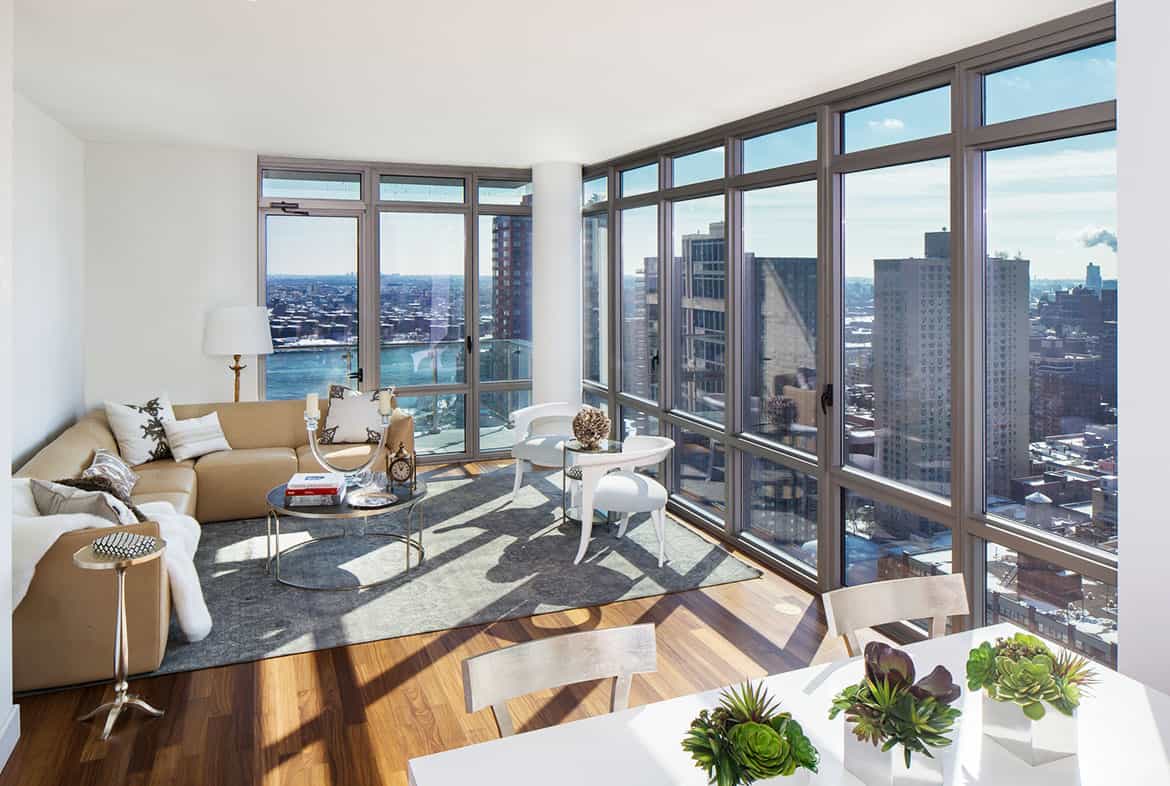
Use good lighting for your property photographs
One of the most important factors when it comes to photographing your property, is lighting. Lighting can alter the feel of a photograph drastically within a matter of minutes depending on the time of day.
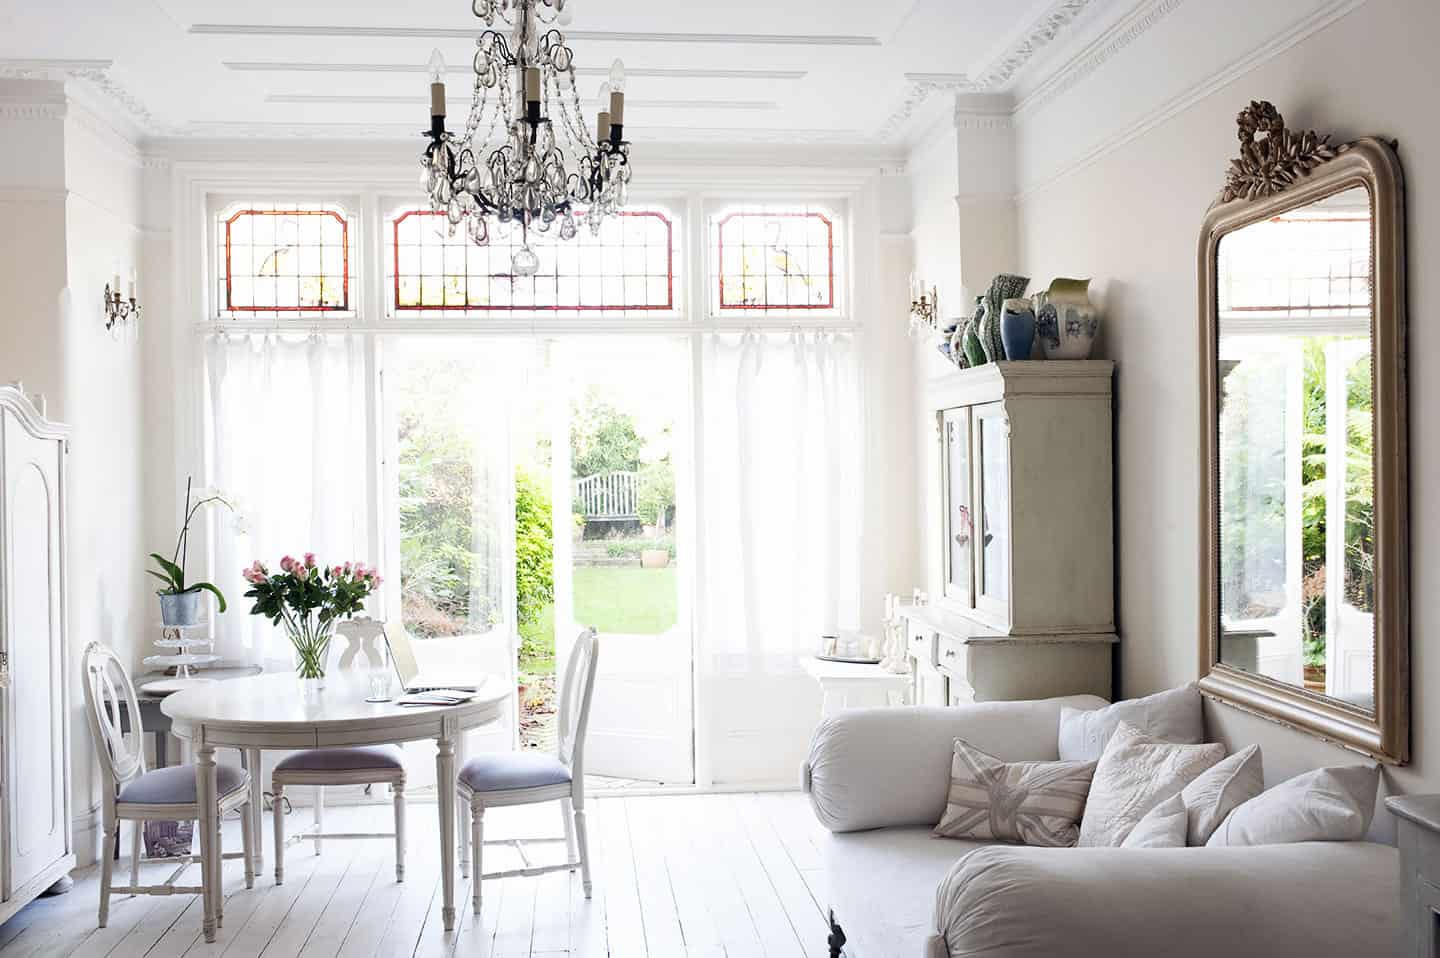
Make sure that your photographs are not blurry
The space will not look good even if its a well-staged interior photograph of a home because of blurry edges or lines in the photograph. If you’re going to take photographs the right way, make sure you put as much care into the actual picture as you do setting up for it!
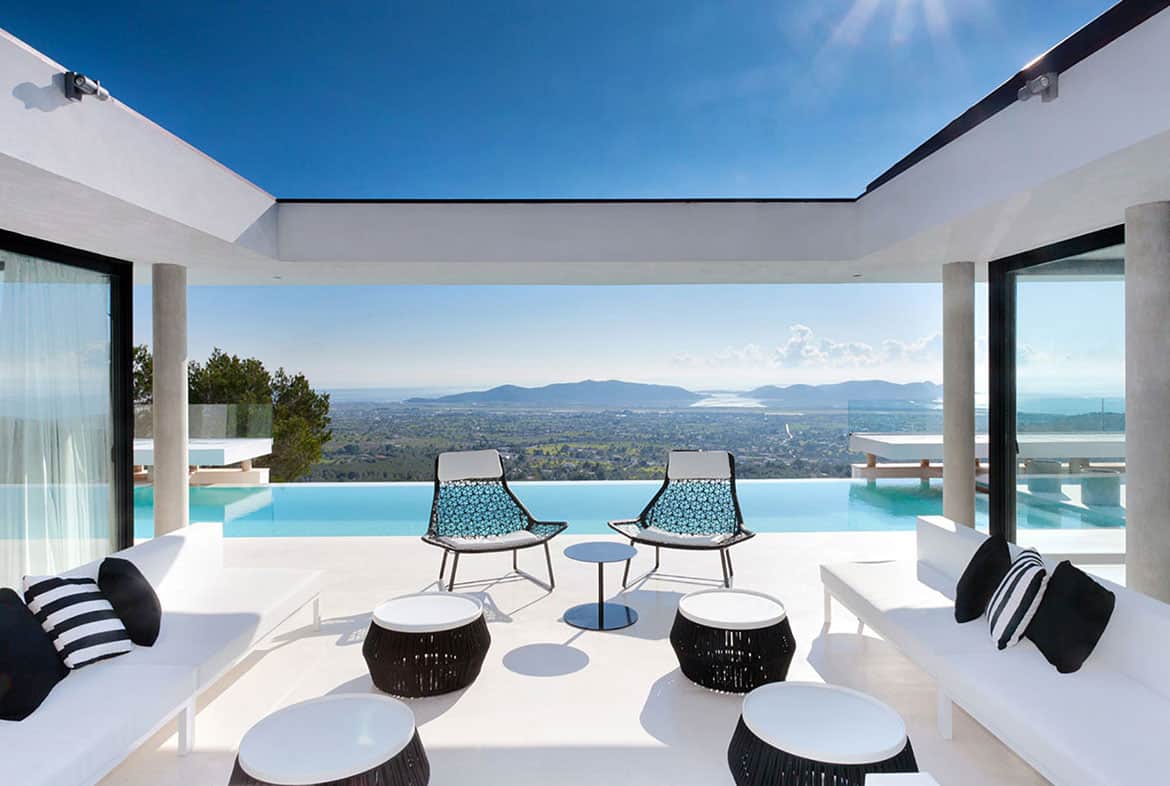
Play with angles around the property
While the goal is obviously to get a great shot of any given room, many people make the mistake of stopping the photo shoot too early. In order to get the perfect shot and angle, you’re going to have to invest your time with different angles and memory card space.
When it comes to photographing your property like a professional, you’re going to have to think like one. This means you’ll need to take more pictures than necessary and be willing to shoot as many angles as you can find. As lighting changes and angles change, the best photo can come out of the most unexpected of shots!
Also, it’s important to be adventurous with your setup choices. If getting a great photo means taking the time to set up some helpful artificial lighting, then so be it. And don’t be afraid to move furniture and accessories around to improve the space, even if it’s only temporary.

Get Help
If you find yourself struggling with the final results, never hesitate to reach out to friends and family. Run some of your final photos by them and ask them what they think. If you get the answer you’re looking for, great! If not, it’s time to keep on clicking because after all, you’re trying to do this like a professional.
While doing your own home photography can be a challenge, the results are often worth the risk. It gives you a chance to not only create your own space, but put your personal touch into the final product in nearly every way. This will mean a higher change of your property selling for the best price on the market, or finding a renter who is willing to pay more.
